

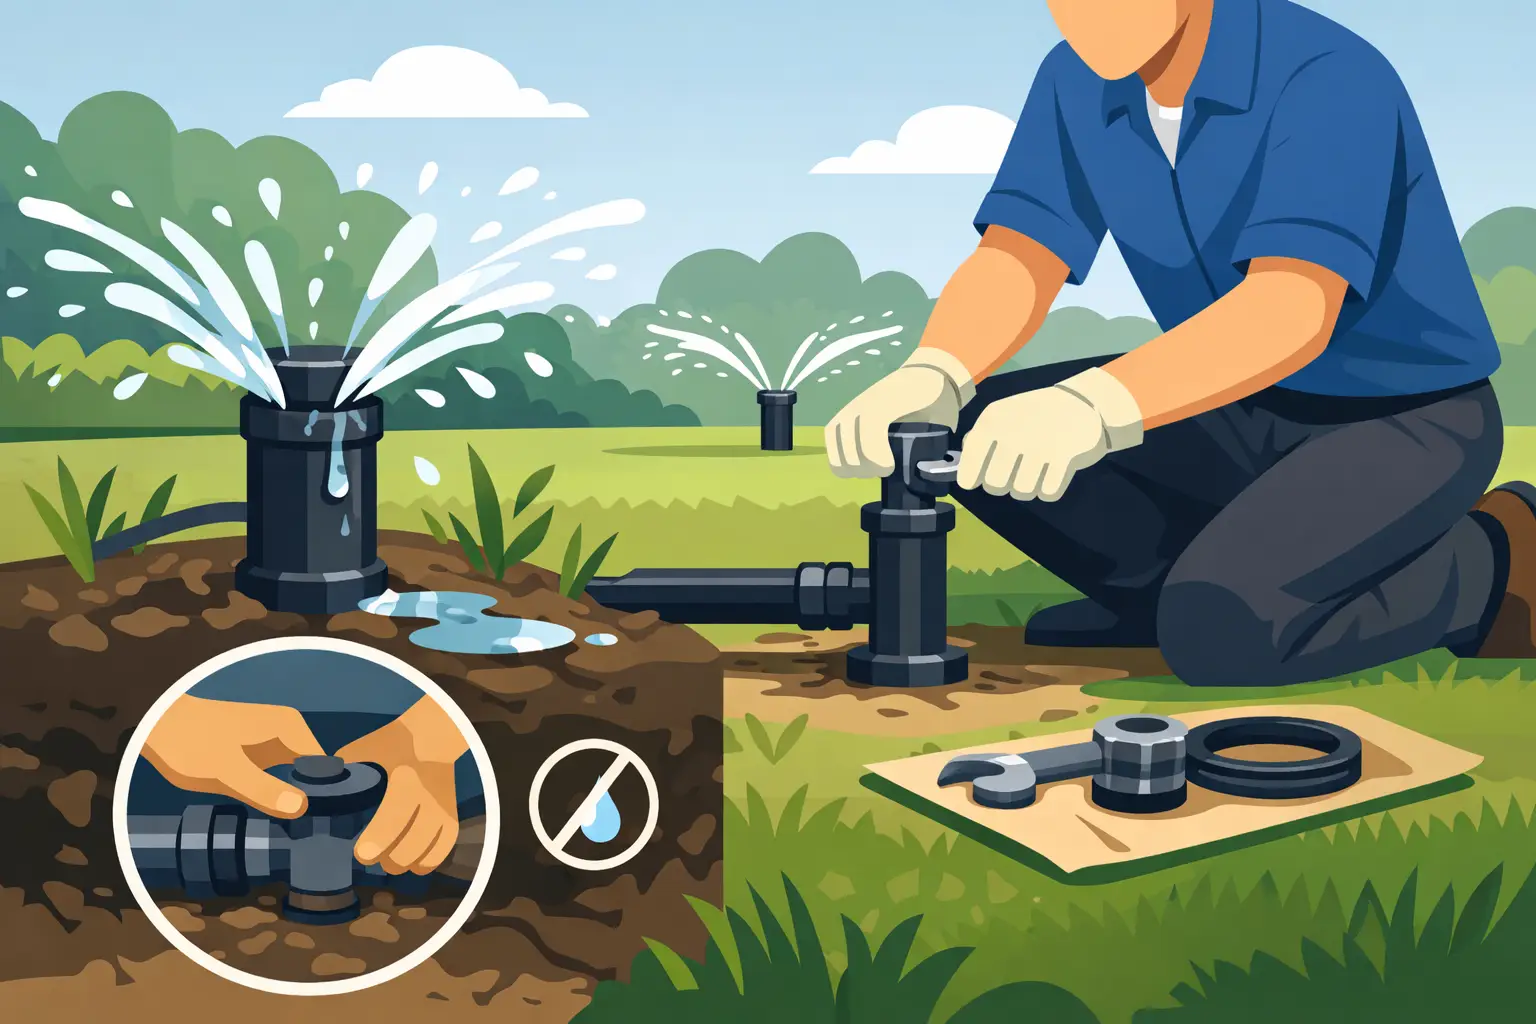
A sprinkler leak can turn a healthy lawn into a muddy patch, create weak water pressure across the yard, and quietly add dollars to every water bill. Knowing how to fix sprinkler leaks starts with finding where the water is actually escaping, because the wet spot you see is not always where the problem began.
A leaking sprinkler system is usually repairable, especially when it is caught early. The right fix depends on whether the trouble is at a sprinkler head, underground pipe, valve, fitting, or the backflow connection. Start with a careful inspection, make a focused repair when it is safe to do so, and call a professional when the leak involves buried lines, electrical controls, or repeated pressure problems.
Start by Finding the Source of the Leak
Run one sprinkler zone at a time and watch it through a complete cycle. Look for water pooling around a head, water spraying from the side of a fitting, unusually green or fast-growing grass, and soft ground between sprinkler heads. A leak that only appears while the system is operating usually points to a pressurized line or damaged head. Water that continues to flow after the cycle ends may indicate a valve that is not closing fully.
Do not assume the closest sprinkler head is the culprit. Underground water can follow the trench where the irrigation line was installed, then surface several feet away. If one area remains soggy long after watering, turn off the system and see whether the ground continues to get wetter. That detail helps narrow down whether the leak is on the main line, which stays under pressure, or on a zone line, which leaks only while that zone runs.
Before digging, turn off the irrigation controller and shut off the water supply to the sprinkler system. This prevents a small repair from becoming an unexpected geyser.
How to Fix Sprinkler Leaks at the Heads
Sprinkler heads take the most abuse from mowers, foot traffic, frozen ground, vehicles, and shifting soil. They are also among the simplest leaks to repair.
If water is spraying from the base of a head, unscrew the top and check for a cracked riser, loose nozzle, or worn seal. Dirt and small stones can also keep the head from sealing properly. Rinse the parts clean, replace damaged components, and make sure the head is screwed firmly onto its fitting.
A head that sits too low can collect mud and allow water to pool around its base. Carefully expose the area around the head and raise it with a compatible riser or extension fitting so it sits level with the finished grade. A head that sits too high is just as likely to be hit by mowing equipment, so aim for level, not elevated.
If the plastic body is cracked, replacement is generally more dependable than trying to patch it. Bring the old head or take a clear photo before purchasing a replacement. Matching the spray pattern, nozzle type, and height helps the zone continue watering evenly.
Repairing Leaky Pipe Fittings and Underground Lines
Water bubbling up from the lawn while a zone runs often means a cracked pipe, loose fitting, or damaged connection below the surface. Tree roots, ground movement, winter freezes, and accidental digging are common causes in Kentucky landscapes.
Begin by digging slowly around the wet area with a hand shovel. Avoid driving a sharp spade straight down, since that can damage the line further. Expose enough pipe to identify the break and give yourself room to work. Once the water is off and the line is drained, cut out the damaged section using a pipe cutter or saw designed for irrigation pipe.
For PVC pipe, the repair typically involves a new section of pipe and the correct couplings, primer, and cement. Dry-fit every piece before applying cement. Once cement is applied, you have very little time to adjust the connection. Let the repair cure according to the product instructions before restoring water pressure.
Flexible poly pipe requires barbed fittings and clamps rather than PVC cement. Use fittings made for the pipe size and secure both ends properly. A repair that looks tight but is not clamped correctly can leak again as soon as pressure builds.
Buried repairs can become more complicated when the damaged area is close to a valve box, electrical wire, landscaping bed, retaining wall, or hardscape. At that point, professional help is often the more cost-effective choice. It is better to repair the correct line once than to disturb a finished landscape or create a second leak while searching.
Check Valves When Water Will Not Shut Off
A sprinkler zone that keeps dripping from one or more heads after the system turns off does not always mean there is a broken pipe. On a sloped property, low sprinkler heads may drain naturally after a cycle. This is called low-head drainage, and it may stop after a few minutes. Check valves installed at the heads can often prevent it.
If water continues running much longer, or if a sprinkler head stays wet between cycles, the zone valve may be failing to close. Debris in the valve, a worn diaphragm, or a damaged solenoid can prevent a full seal. Open the valve box, inspect it for standing water or damage, and clean out loose soil before working around it.
Valve repairs are more technical than a head replacement because they involve water pressure and electrical components. Replacing a diaphragm may solve the problem, but only if the valve body itself is in good condition. If several zones are acting unpredictably, the issue may be in the controller, wiring, or water supply rather than one valve.
Do Not Ignore a Leak Near the Backflow Preventer
The backflow preventer protects your household water supply from contamination. If you notice water leaking from this assembly, do not bypass it or attempt to remove it without understanding the setup. A small drip may come from a worn seal or a fitting, but freezing damage can crack internal parts and create a more serious failure.
Turn off the irrigation supply if water is actively leaking, then arrange a qualified inspection. This is especially wise after a hard freeze or when the device is installed near a foundation, sidewalk, or driveway. A poorly repaired backflow assembly can create water-quality concerns as well as property damage.
Test the Repair Before Covering the Area
After completing any repair, turn the water back on slowly. First, inspect the repaired connection without running the zone at full pressure. Then activate the zone and watch for seepage, spraying, or movement around the fitting. Let it run long enough to confirm that nearby heads still pop up, rotate, and spray normally.
Only backfill the hole after the repair stays dry under normal operation. Replace soil gradually and tamp it lightly around the pipe or sprinkler body. Avoid packing soil so tightly that you shift the head or put pressure on a fitting. Finish by adjusting the sprinkler head so water reaches the lawn and planting beds, not the driveway, siding, or street.
When a Professional Sprinkler Repair Makes Sense
A homeowner can often replace a broken head or make a straightforward fitting repair. The job is less simple when the leak is hidden, recurring, or tied to water pressure. Professional diagnosis is a smart move when you have a leak under a patio or driveway, a damaged main line, a valve that will not shut off, visible backflow damage, or a system with multiple weak zones.
A trained irrigation team can locate the problem, repair it with the right materials, and check the rest of the system for issues that could waste water later. MowAction Lawn Care Services helps property owners throughout Louisville, Oldham County, and Shelby County keep irrigation systems working efficiently while protecting the lawn and landscape around them.
The best time to address a sprinkler leak is when it is still a wet spot, not when it has washed out soil, damaged turf, or raised your monthly bill. Pay attention to small changes in spray patterns and soggy ground, and your system will have a much better chance of delivering water where your landscape needs it.